Part I of the M91D review, will deal with the various accessories, setting up and basic operation. Part II will deal with the detailed operational aspects and features.
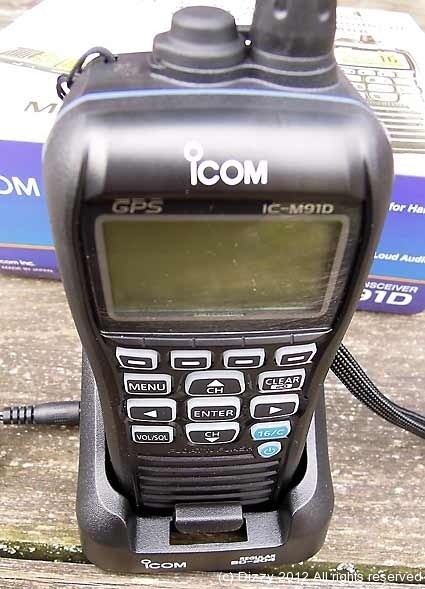
ICOM have a great pedigree when it comes to producing portable waterproof VHF sets for the marine industry. The ICOM IC-M91D is their first portable DSC VHF radio.
DSC (Digital Selective Calling) is a system that uses data signals to automate the transmission and reception of calls on VHF marine radio channel 70. The most valuable feature of the DSC system is that it can send an automated distress call to the emergency services which includes your location (it uses GPS to obtain your location). This can be done by simply pressing a button on the VHF radio.
Lets have a closer look at what comes in the box…
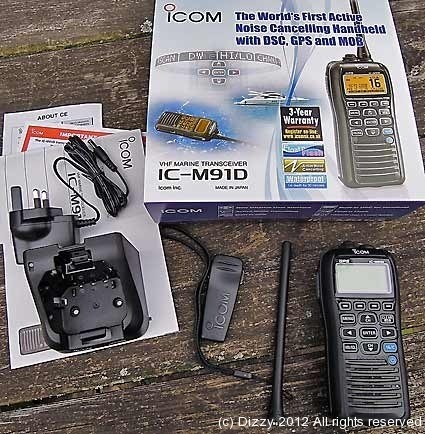
The box contains the following…
-
Instruction/user manual
-
Radio
-
Antenna
-
Battery
-
Mains charger
-
Belt clip
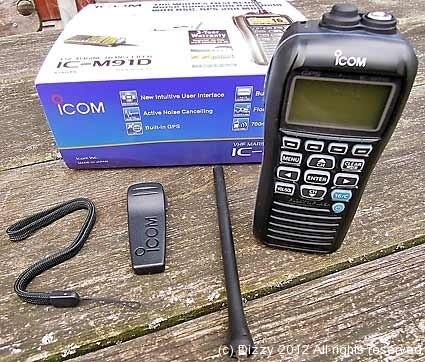
The first thing which strikes you about the M91D is its size. It is much bigger and chunkier than the M71, despite weighing almost the same. This is probably due to the fact that the M91D floats when dropped in water – which is a good thing. To get an idea of the size of the M91D, here are some images alongside the M71…
The main thing from a kayak fishing perspective, is that the M91D still fits in the pocket of the PFD – I double checked with my Palm, and it was fine. On to the accessories now…
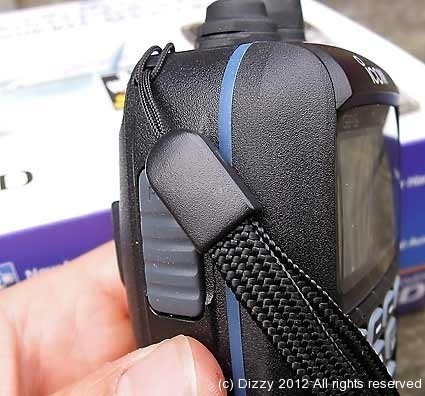
The lanyard fits onto the edge of the radio…
I didn’t bother with the belt clip. The lanyard would be clipped to my PFD, so there is no need for the belt clip.
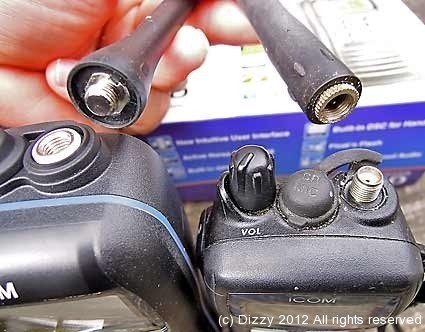
The antenna is different to that on other models (I will use the ICOM M71 as a comparison from now onwards). It is longer than the M71 antenna and the connector is different. It was possible for the rubber sheath on the M71 antenna to become detached, but the design on the M91D has improved, so this should no longer be a problem.
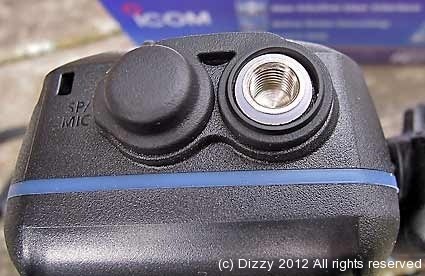
The actual connectors on both the male and female side of the antenna have also been improved. The M71 had a coax type connector, whereas the M91D has a flat plate on both sides which will be less likely to suffer from water ingress (see images above and below)…
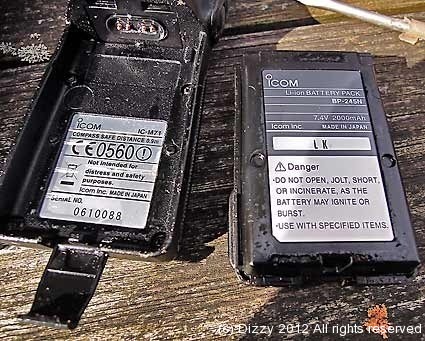
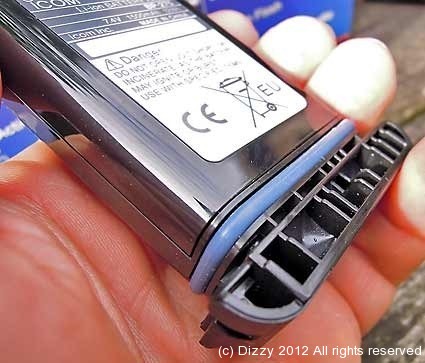
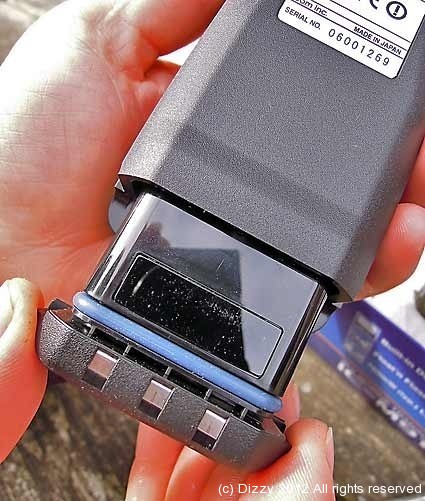
On to the battery. The battery size and capacity are different to the M71 (see the features/specification below). Also, the whole way that the battery connects to the main unit has been changed. With the M71, the battery clipped on to the main unit…
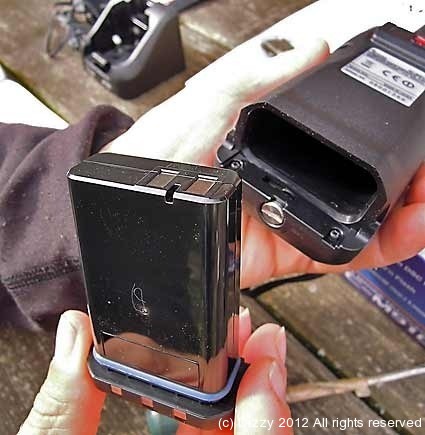
The M91D has a battery unit which slides into the body of the VHF and is sealed by an ‘O’ ring.
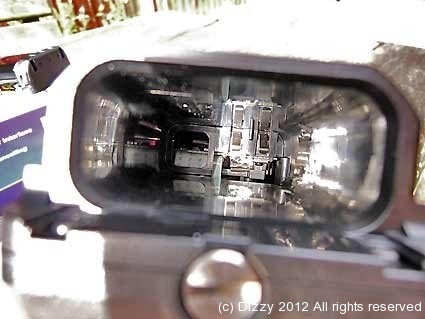
When you look into the battery compartment in the body of the VHF, you can see components etc at the end…
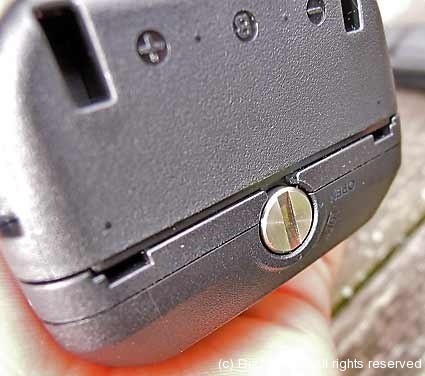
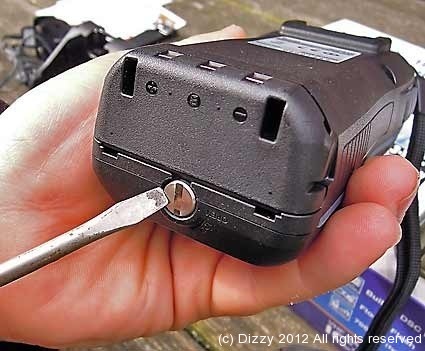
The battery is held in place by a screw on the end of the case…
The M91D battery is rated 1500mAh which gives it an average life of 8 hours (based upon a ratio of 5:5:90 transmit : receive : standby).
The M71 battery had a capacity of 200mAh which gave it an average of 15 hours life with the same usage. Although it has to be remembered that the M91D has a built in GPS receiver, and this will take a fair amount of current.
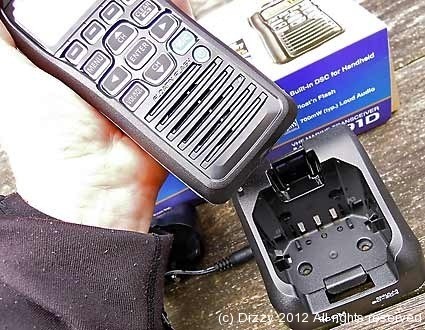
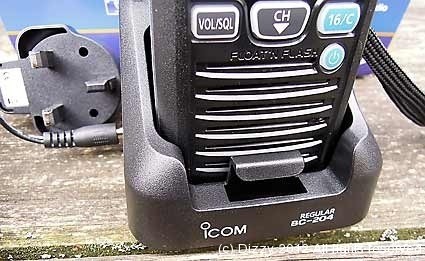
The battery charger is fairly standard – the radio slots into it – which is quite neat.
The battery/charger has reverted to the older style using 3 contacts. This was dropped on the M71 model in favour of 2 contacts. There were issues with the earlier model of radios with the middle contact out of the 3 corroding in saltwater – I cannot say if the M91D has the same design of contact (because I have not owned one of the previous models) – but it is something to keep an eye on.
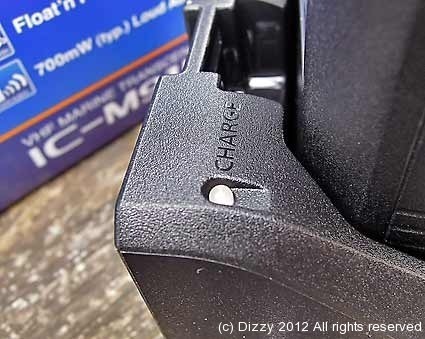
The charger has a light to show it is charging – a full charge takes approx. 9 hours.
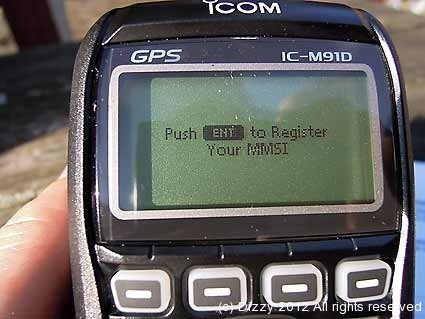
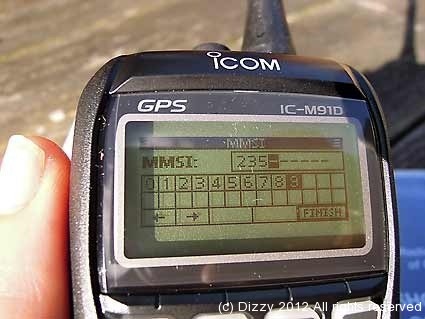
Okay, so now we have fitted the antenna and charged the battery, we are ready to switch the unit on. The first thing you will notice, is that you are prompted for an MMSI (Maritime Mobile Service Identity) number, the first time you switch the unit on. This is a unique identifier which links you (the owner) to the radio – it is used for the DSC messaging, rather like a telephone number – it uniquely identifies another radio. Be very careful – once you enter an MMSI number into the radio, it can only be changed by an authorised ICOM dealer – You have been warned !
So I know what You are not forced to enter the number – if you press “Cancel” twice on the radio, the prompt will go (until you next switch on the unit) and you can use the M91D as a normal (non DSC) radio.
So your next question is going to be “How do I get an MMSI number ?”
Good question ! I had to find out myself ! You need two things to be able to use a portable VHF radio in the UK –
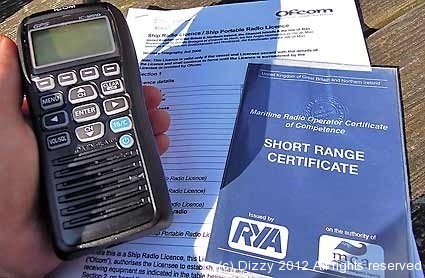
1. A maritime radio operator certificate of competence – more commonly known as your “short range VHF certificate”. This is the certificate you get when you go on an RYA VHF course. Most of the modern courses have been teaching DSC as part of the course for some time now.
2. A ship portable radio licence which is obtainable from Ofcom
https://services.ofcom.org.uk/
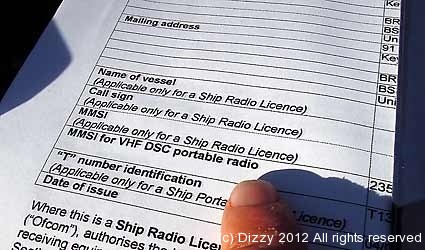
Now, I have both of these documents. But I could not find an MMSI number.
A quick telephone call to Ofcom clarified the situation. You can go to the Ofcom website above and apply for (another) new VHF DSC ship portable radio licence. This will create a new licence – you will be issued with a new licence number, a new T number and an MMSI number – Sorted ! It only took a few minutes to do this online, and I had an MMSI number which I could use. Remember – the MMSI is for a Portable VHF radio, so it links you to the radio (not to the vessel you are using it on).
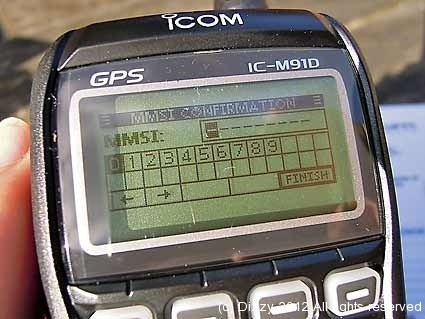
Now the MMSI number can be entered into the radio (you have to do it twice to confirm)…
Now you can use the DSC functionality which the radio was designed for.
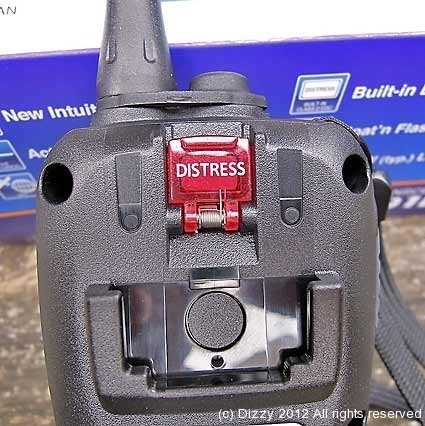
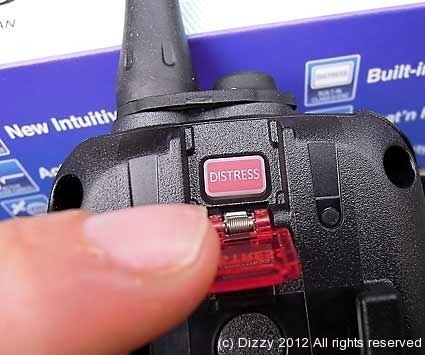
I will cover part the detailed functionality in part II of the review. But for now a couple of things which are different on this radio compared to previous versions. Firstly, nearly all of the functionality on the radio (including the volume control) is controlled via menus and softkeys (rather than knobs). Next, there are a whole host of new features associated with the DSC and the GPS (sending automated distress signals, messages, creating waypoints and navigating to them etc.). The only one I will show briefly here, is the distress button on the back of the radio. You have to follow a process, but basically it involves lifting the flap and pressing the “distress” button for 3 seconds.
Once this has been done, the radio will send a message which tells the emergency services you are in trouble – your exact GPS location will be included in the automated message, so SAR know where to find you. The radio then goes into a protocol which involves acknowledgements etc.
That is the end of Part I of the M91D review – I have covered the accessories, setting up and basic operation. In part II I shall cover the detailed operation and main features of the M91D.
The operation and features of the radio are easier to show, than to describe, so I have created a video which should provide a good overview and the basis of part 2 of this review…
httpv://www.youtube.com/watch?v=jZpYvnnKYyE

![M91D on left and the (non floating !) M71 on the right for size comparision DSCN4275[2]](https://dizzybigfish.co.uk/wp-content/uploads/2012/07/DSCN42752_thumb.jpg)
![The M91D (left) is also slightly thicker than the M71 shown on the right DSCN4279[2]](https://dizzybigfish.co.uk/wp-content/uploads/2012/07/DSCN42792_thumb.jpg)
