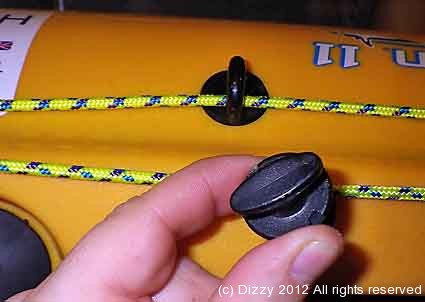
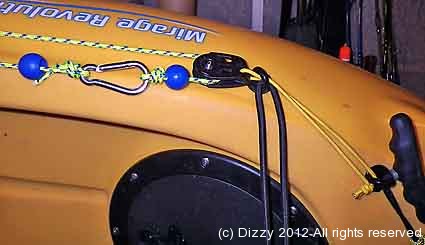
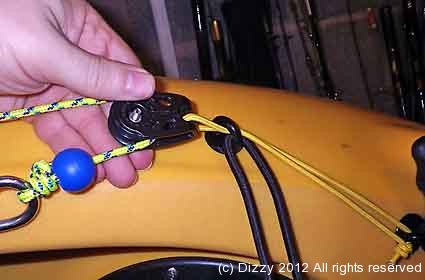
Last weekend, I went fishing with a makeshift anchor trolley on the Hobie Revolution 11 – no blocks, just ran the line through pad eyes fore and aft. It did the job, and gave me a feel for where I wanted to place the “proper” anchor trolley.
I have added and modified quite a few kayak anchor trollies in my time, but each one has been different. Before starting work on the standard Hobie anchor kit, I read the instructions and watched some videos…. the first thing which struck me was the amount of misleading and incorrect information which was being provided.
So based on what I have learned,here is my take on the standard Hobie Anchor trolley installation…
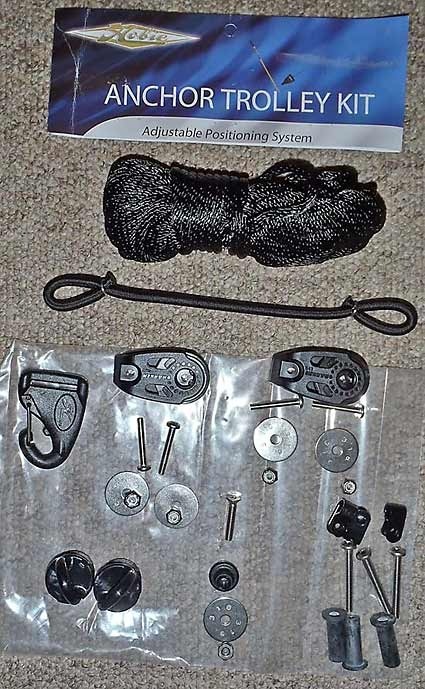
Before we delve into the detail, here are the main differences/improvements with my installation against the “standard” advice…
1. My trolley is installed on the right (starboard) side of the kayak – most of the Hobie advice states to install on the port. The rudder flips to the port side when it is raised/lowered – and if you drop anchor and forget to raise the rudder, (especially in strong UK tides) – there is a strong chance the rudder will foul the submerged anchor line when you try to raise it.
2. Use of in-line elastic – The standard instructions recommend the use of elastic in-line as part of the anchor trolley – this prevents the crab or clip from travelling all the way from the stern to the bow blocks (the elastic jams in the block). As you will see, I use elastic, but not in-line.
3. Fixed block on the bow, trailing block on the stern. The standard instructions recommend fixing the blocks both fore and aft. I fix the block at the bow (when hauling the anchor from the bow with the anchor line fixed/cleated you don’t want the fore trolley line to stretch). But I have a trailing block on the stern attached to a short length of elastic and fixed to an existing connector. This has several benefits – no need to drill holes in the stern to attach the block, and the elastic gives the trolley some give when at anchor in a bit of a choppy sea. The elastic also keeps the anchor trolley nice and taught.
4. Connection points of the fore and aft blocks – the standard installation recommends fixing the blocks about a foot from either end of the kayak. I attach the rear block as close to the stern as I can. The closer to the stern (and the middle line of the kayak), the more stable the kayak will be at anchor, and the less yaw will occur in the tide. I install the fore block about 2.5 feet back from the bow; if the block is installed too close to the bow, then the kayak can become very tippy when retrieving the anchor with the trolley locked off.
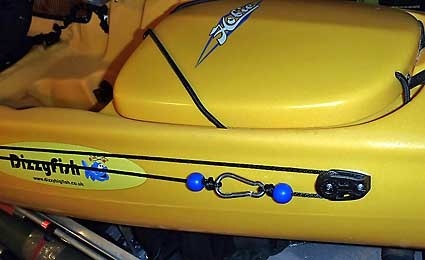
5. Use of rope stops – I have added rope stops to prevent the knots connecting the crab getting jammed in the blocks.
So if you are still reading, I assume you trust me !!!!!! Let’s start the installation of the Hobie anchor trolley.
Additional items you will need for this installation (over and above the standard Hobie anchor installation kit) :
1. 2 small rope stops
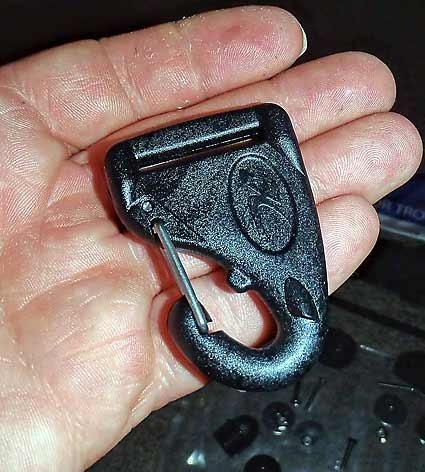
2. A small stainless steel crabiner
3. A short (20cm) length of 3mm elastic
4. Some silcon/marine goop/sikaflex sealant
Starting at the rear of the kayak, you will notice that the elastic rudder keeper is held in place by a removeable fitting. Carefully unscrew it (by inserting long nose pliers into the lugs on top of the plastic and twisting). The fixture unscrews…
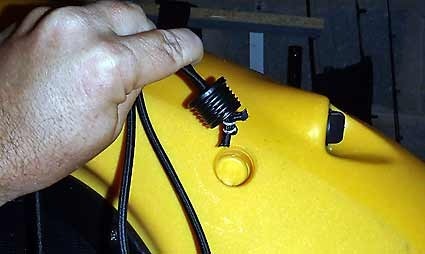
Thread one of the blocks onto a short length of 3mm elastic. Push the elastic through the same hole that the rudder keeper elastic is poking through, and tie the elastic in a knot to stop it pulling back out of the fixture.
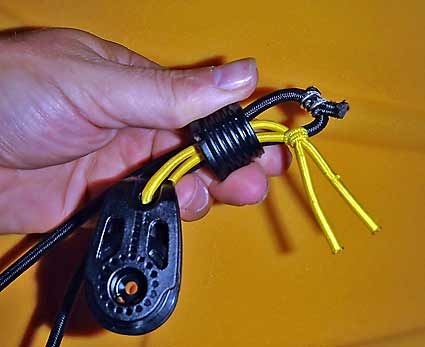
Then simply screw the fixture back into the kayak…
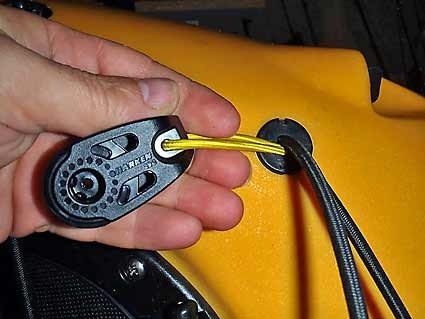
Thread the black anchor rope through the block.
Now moving to the middle of the starboard side of the kayak, you will notice 2 more fixtures attached to the paddle keeper…
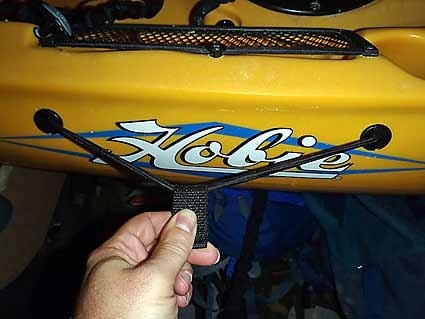
Unscrew both of them, and remove the paddle keeper…
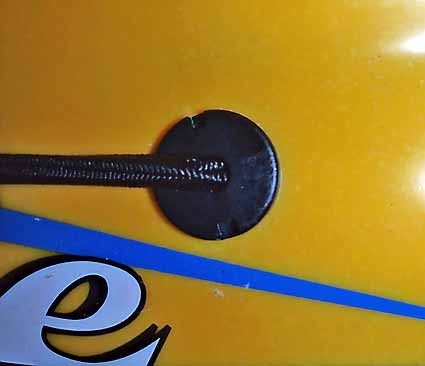
Replace them with the supplied pad eyes, by unscrewing them and replacing them…
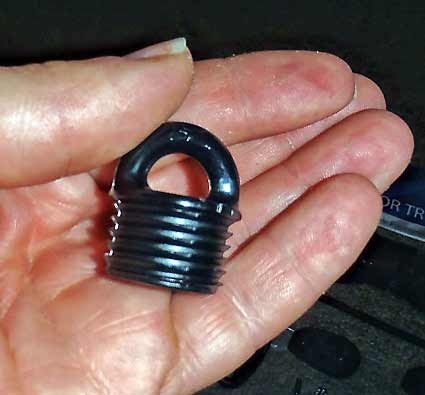
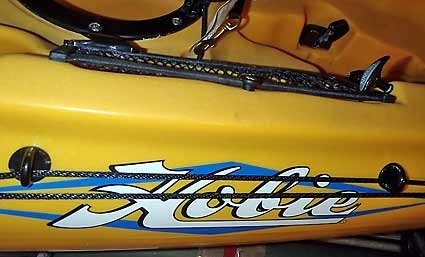
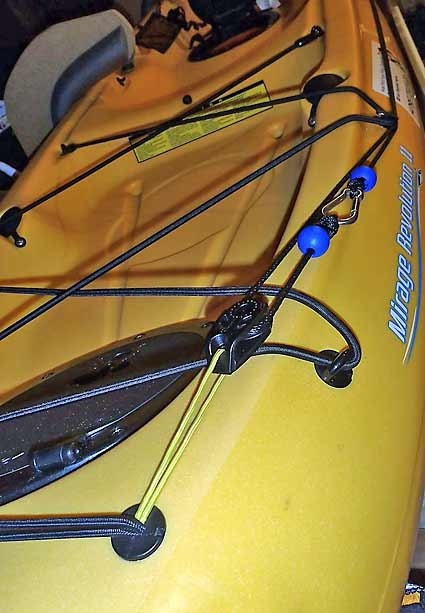
The pad eyes will route the top line of the anchor trolley and stop it from crossing into the cockpit, as you can see below…
Now moving on to the bow, we need to fix one of the blocks to the side of the kayak using the supplied bolts, nylock nuts and penny washers.
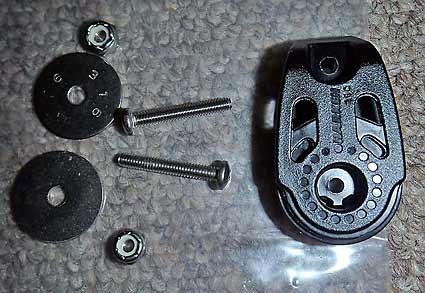
The block should be added at the point where the bow of the kayak starts to flair out (near the front of the hatch) – a point where the hull has more stability. It needs to be installed quite high (above the waterline !) in-line with the pad eyes you have just added. Remember to stick your head inside the hatch and check where the bolts are going to be, in case they should interfere with any other fixtures inside the bow.
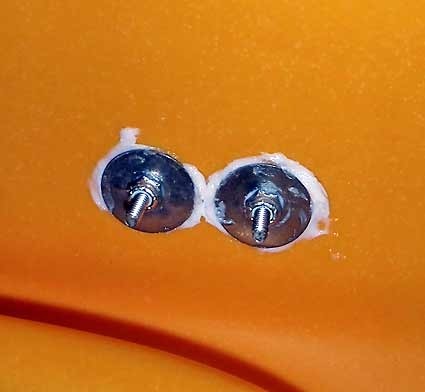
Take the block and drill through one of its holes (use a bit which is slightly smaller than the supplied bolts). Then screw the bolt through the block and in through the hole you have just drilled. Once this is done, it will temporarily hold the block in place, and you can drill a hole through the other side of the block. Take the bolt and block off the kayak and smother the back of the block and the penny washers with sealant, before placing the block back on the kayak and adding the bolts, nuts and washers.
The inside of the kayak should look like this…
Now you can run the black anchor trolley line through the block at the bow, add a rope block (ball) to the lower line (top protect the knot), and tie on the carabiner. The carabiner replaces the supplied clip…
Do the same with the other end of the anchor line, but remember to tension the line (the elastic on the rear block should be under a bit of tension) – you may have to adjust the knots on the carabiner to achieve the correct tension.
The finished trolley should look like this at the bow…
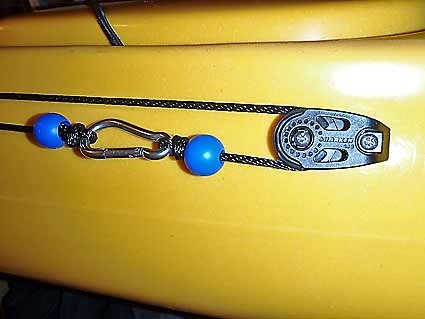
And at the stern…
Now you should have a versatile full length anchor trolley capable of anchoring in tides or drogueing from the bow. You should also have a few bits and pieces left over from the standard Hobie installation kit which should come in handy for future projects.
You will still need a way of locking the anchor line (to stop it moving when you are anchored in a strong tide) – either a cam cleat a zig-zag cleat or at a push, just wrapping the trolley line around the peg for the paddle keeper will do.
Job Done !
UPDATE (March 2013) : After using the anchor trolley a few times, I have made a couple more improvements…
1. Replaced the rear tag with a pad eye…
2. Changed the way the shock cord is fitted on the rear block…
These updates improve the handling and performance of the anchor trolley.

