As with all kayak pimping, the most important question is…
“Where is the best position to locate the GPS ?”
With a smaller fishing kayak such as the Hobie Revolution 11, this question is even more critical – space is at a premium; the lack of a centre console and the need to keep the cockpit area as free as possible from clutter (to make re-entry into the kayak uncomplicated following possible capsize) means you must think long and hard about the placement of accessories.
After much thought about where other bits of kit were going to go, avoidance of internal control lines and car topping considerations; I made my decision to use the starboard cup holder. I was going to use a RAM based installation.
Hardware needed for installation…
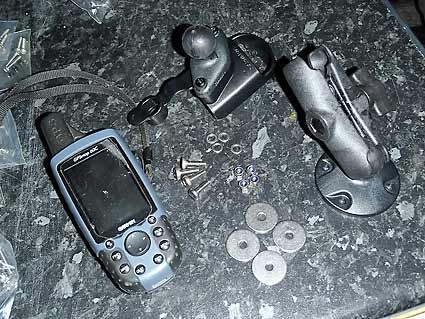
Garmin 60 series Handheld waterproof GPS unit
4 x stainless M5 bolts (allen key heads if you can get them)
4 x stainless small M5 washers
4 x stainless M5 penny washers
4 x stainless nyloc M5 nuts
1 x RAM Mount with Standard ‘B’ 1″ Ball Arm, Round base diamond top (RAP-B-138)
1 x RAM Garmin 60 series Holder (RAM-HOL-GA12)
Tools for the job…
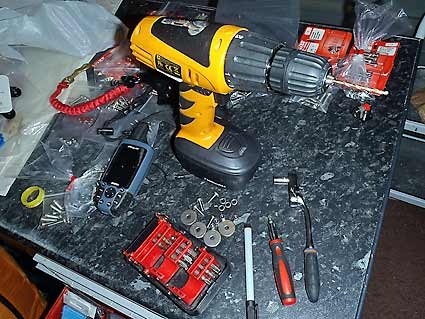
Cordless drill + 4.5mm drill bit
small wrench/spanner
screwdriver (& allen key if using allen key head M5 bolts)
Silicon based sealant
Marker pen
Here is the selected location for the install…
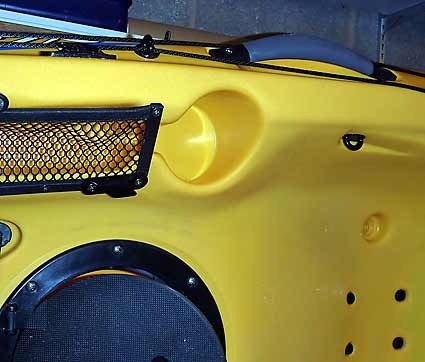
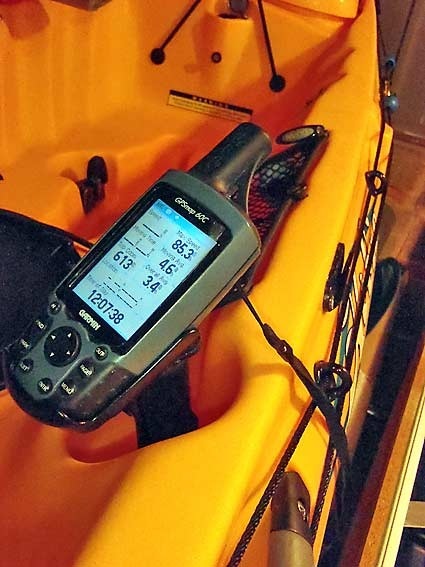
The GPS would sit on a fully adjustable quick release RAM arm mounted inside the cup holder. This would provide the following advantages…
Easy to reach and view from seated position
GPS is relatively flush to the hull – avoiding potential tangle points for anchor warp etc
Away from other electrical components – eg fish finder – avoiding electrical interference and visual blocking
When the GPS is removed, the RAM mount can be quickly adjusted so that it lies below the top of the hull – no need to remove when car topping
On to the installation instructions….
Take the RAM base plate and place it inside the starboard cup holder – move it as far towards the outside edge (RHS) as you can (reason will become clear later !) and mark the holes with the marker pen…
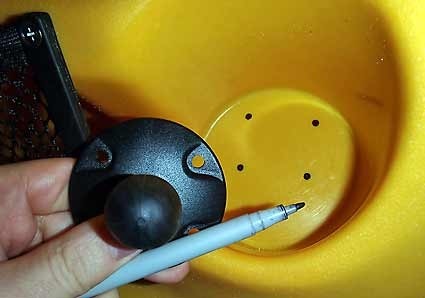
Before drilling the holes – open the hatch and check that the starboard rudder control line is not under the cup holder (if it is, then move it so that it passes around the side of the cup holder).
Because of the proximity of the control lines, we are going to perform a “reverse install” where the bolts are pushed through from the inside of the kayak and are bolted on top. This installation is more tricky, but the advantage is that the area under the cup holder inside the kayak will be relatively flush, with no bolts protruding for the control lines to catch on.
The image below gives you an idea of the order – Bolt –> Penny washer –> RAM base –> small washer –> nyloc nut…
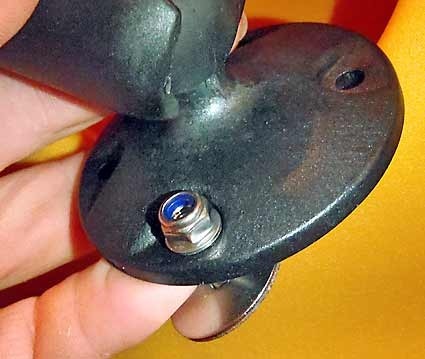
Drill the holes and add the penny washers to the M5 bolts. Add a liberal coating of silicon sealant to the washers and bolts and push them through the holes from the inside of the kayak so they are sticking though the bottom of the cup holder (view from the inside of the kayak)…
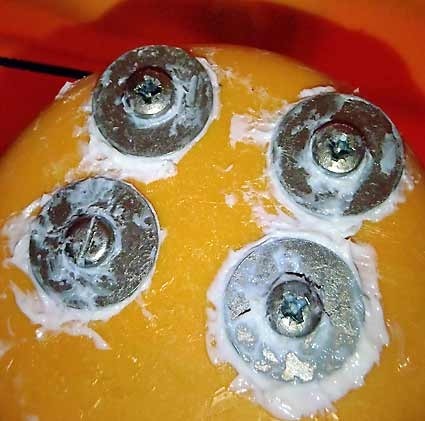
Add silicon sealant to the underside of the RAM base…
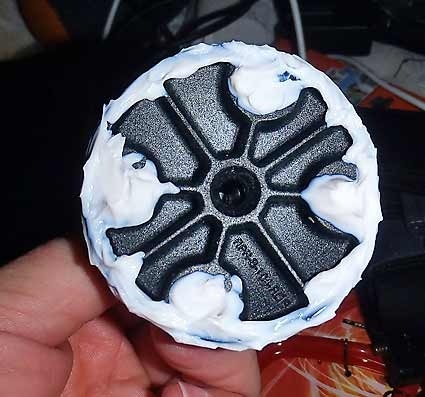
Then push the RAM base on top the protruding M5 bolts.
Add a small washer and nyloc nut to each bolt in turn (finger tighten the nuts).
Then (the tricky bit) – use the wrench/spanner to hold the nuts whilst you tighten them up from the inside of the kayak using a small screwdriver. NOTE : If you managed to get hold of M5 bolts with an allen key head, then this step becomes much easier !)
This is what it looks like when you are done…
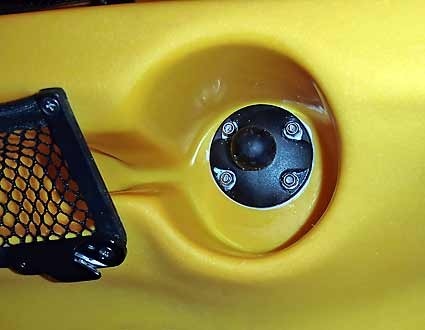
Leave the silicon sealant to dry.
Then you can attach the rest of the RAM mount to the ball.
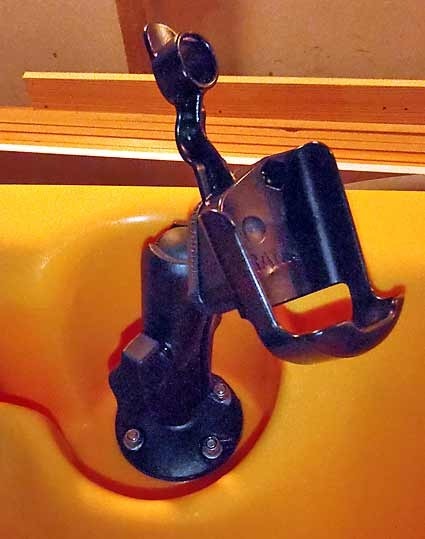
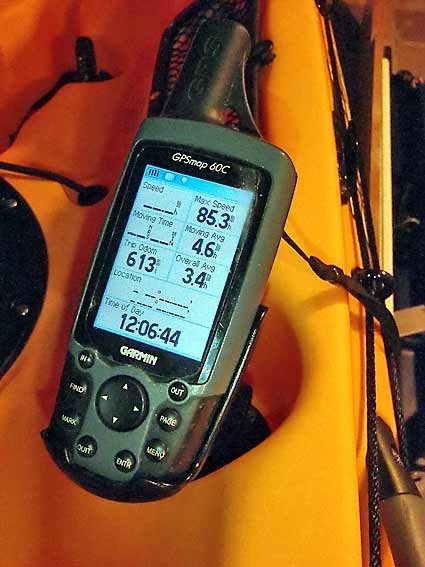
The RAM quick release attachment head for the Garmin 60 attaches directly to the diamond head on top of the arm, allowing the GPS to be clipped and unclipped in seconds, just by pulling down on the plastic arm…
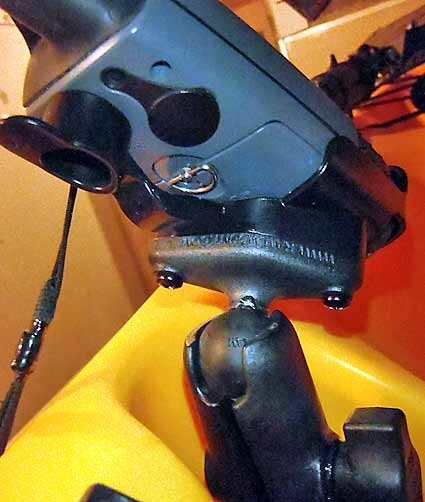
The reason why we mounted the arm close to the outside of the cup holder, is so that it allows the arm to fold over inside the hull (and most importantly “below” the surface of the kayak) when it is not in use. This means that the whole mount can be kept in situ when the kayak is being transported or stored – and the arm will not stick up above the top of the kayak…
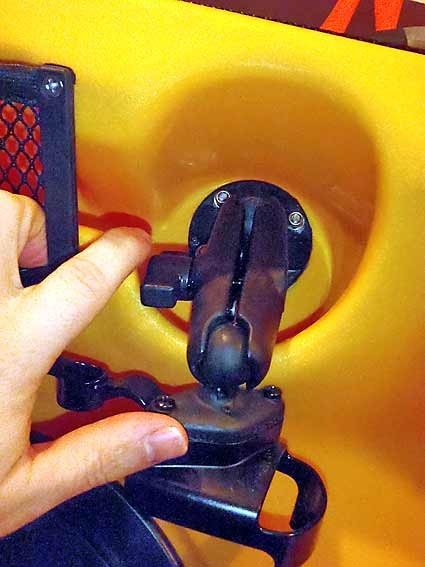
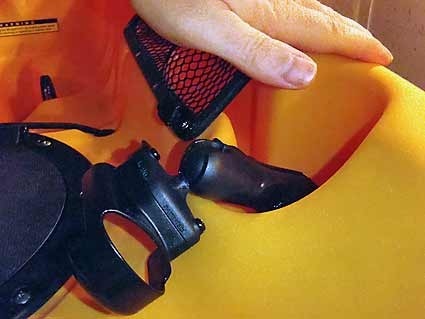
Job done – a neat and flexible mounting option for a portable GPS…
Related posts…
