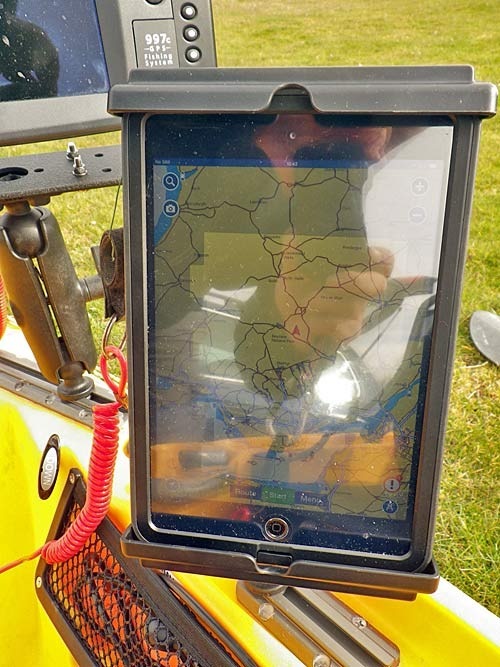
This article describes in simple detail, how to install the following pieces of equipment onto a Hobie Outback kayak…
- Vexilar T-Box Transducer
- Vexilar T-box
- iPad mini
Installation of Vexilar T-Box transducer
The Vexilar SP200 sonar phone pack comes with a transducer. The instructions below show how the transducer can be installed inside the hull of a kayak.
You will need…
- A block of closed cell foam – a gardeners kneeling pad is ideal, and can be picked up cheaply from a garden centre
- A pen
- Some Marine Goop sealant
- A stanley knife
- A saw
Take the transducer, and place it on the block of foam…
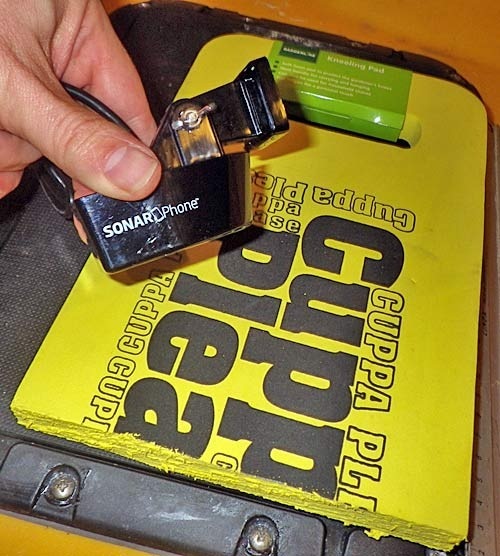
Draw around the base of the transducer using the pen…
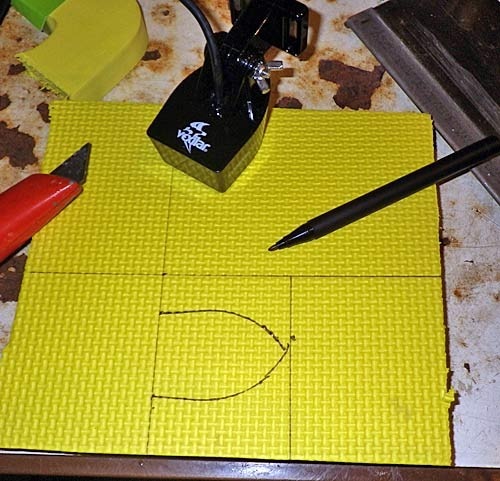
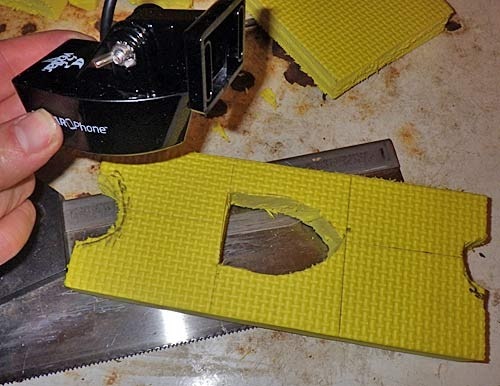
Use the outline drawn in pen to cut out the shape of the transducer using the stanley knife. I also cut out the outlines of the mast stay and the mirage drive to fit it in my Hobie Ouback kayak (but this is optional). Use the saw to cut the foam to a more manageble size…
Roughen the hull of the kayak using some sandpaper (to give a good surface for adhesion), and make sure its free from dirt and grease. Add some Marine Goop to the underside of the foam cut-out, and stick it to the hull of the kayak…
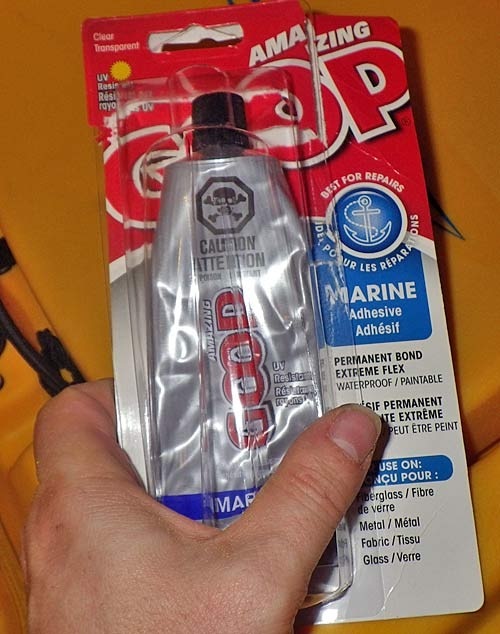
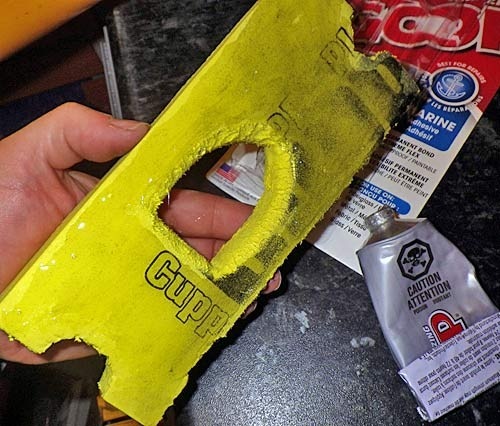
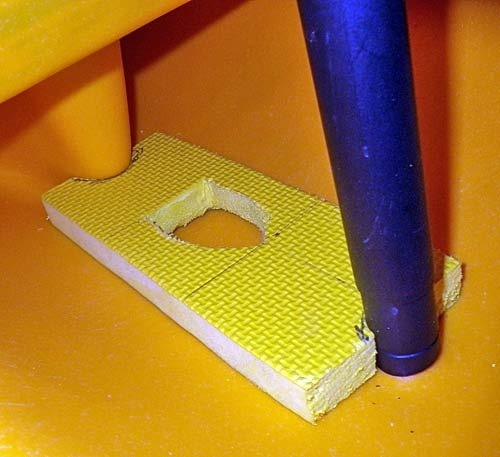
Once the marine goop is dry and the foam block is fixed in place, you can move on to the next stage; adding the transducer.
Fill the foam block boot with some marine goop (not too much, as you do not want the goop to go everywhere). Make sure that the kayak is level…
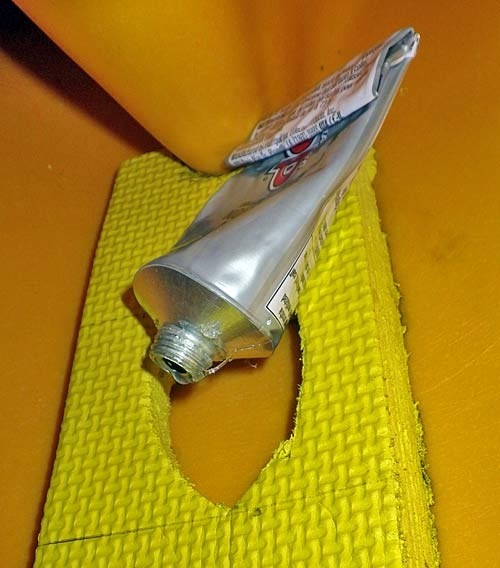
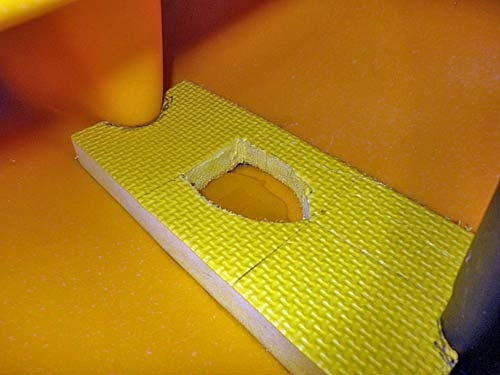
Wait for the goop to fill the boot – it will find a level; check there are no air bubbles, and insert the tranducer into the boot, pressing down hard, to ensure that the tranducer is pushed against the bottom of the hull…
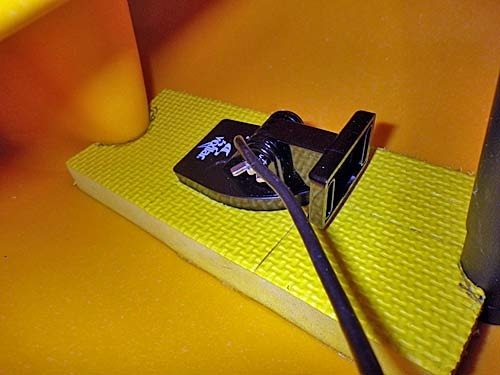
Leave to dry for about 48 hours (Note: it helps to keep pressure on the transducer whilst it is drying – I used a margarine tub full of fishing weights).
Installation of Vexilar T-Box module
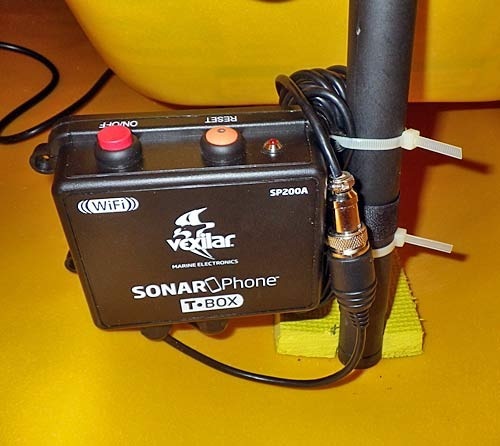
The T-box module was simple to install. It came with some screws, but for my kayak, the easiest way of keeping it in-situ inside the hull. was to use cable ties to attach it to the mast stay, just inside the front hatch…
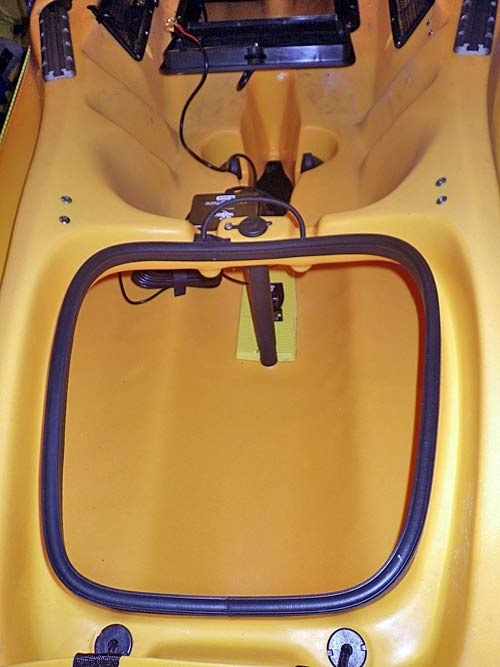
This takes just a few seconds (the T-box has holes through which the cable ties can be passed). The ties were wrapped around the mast stay inside the hull, and the cables were also secured…
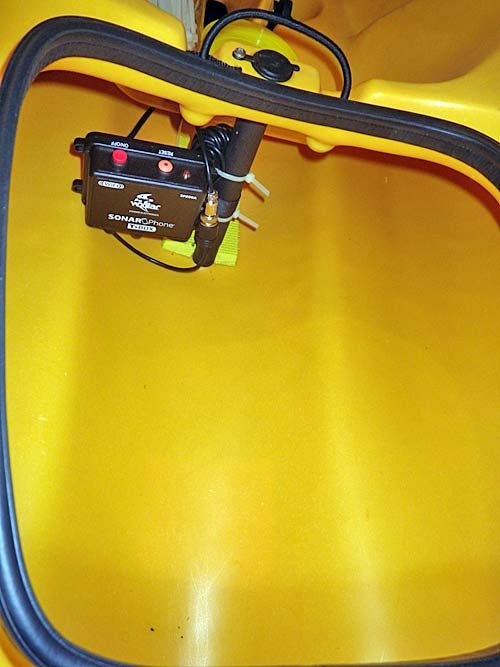
The transducer and T-box are then connected together using the supplied plug and socket on the end of the wires…
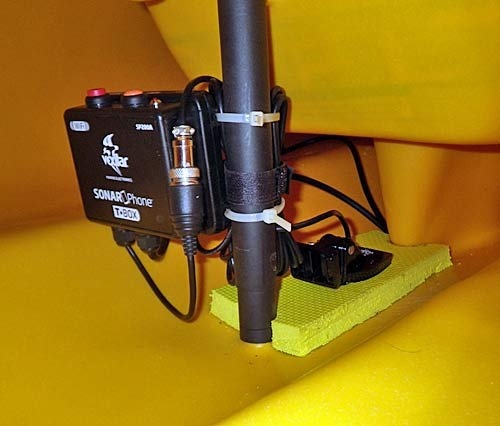
Now all you need, is to connect the T-box to a 12v power supply. I already have a 12v Lithium battery in the kayak; so I decided to use this to power the T-box.
The T-box power lead comes with some clips…
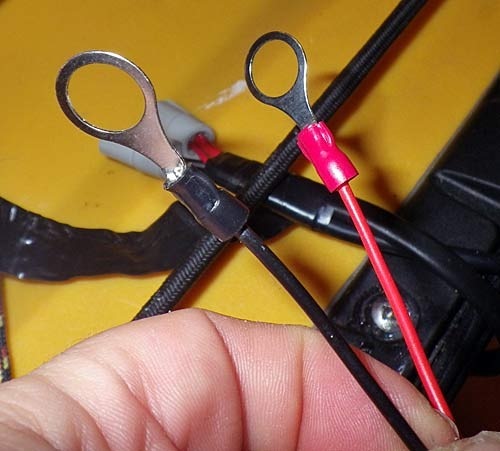
I simply snipped these off, and stripped back some insulation to prepare a short length of wire. The wire was then spliced into my existing 12v battery supply, and the existing cables joined using a waterproof connector filled with silicone…
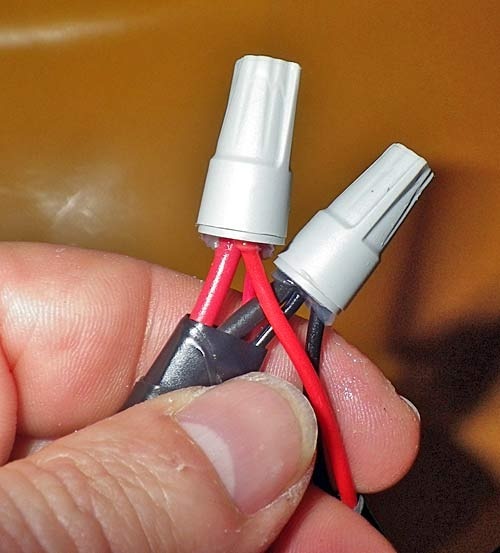
The whole thing was then bound with insulating tape to provide a bit more security…
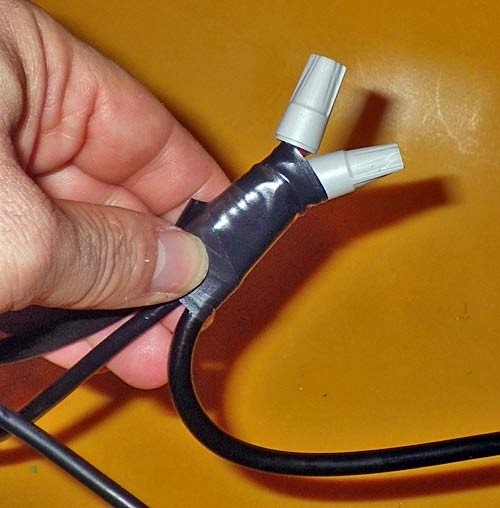
In terms of installation, the only other thing which was needed, was to install the iPad mini, used to display the Sonar Phone footage and Navionics charts.
iPad mini Installation
I was going to use an iPad mini to display the sonar and navionics information. Firstly, I purchased a waterproof case for the iPad mini (I used a Lifeproof Fre case for an iPad mini)…
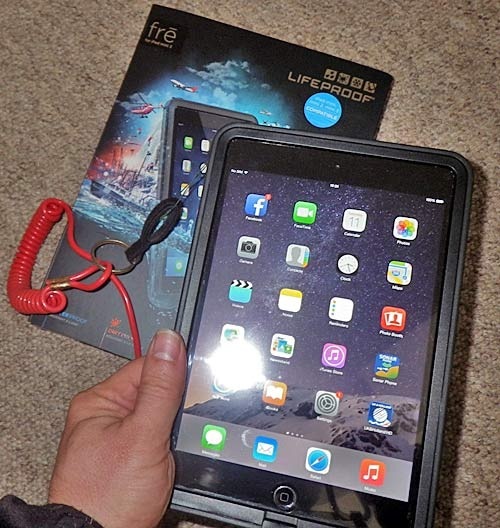
Then I decided to use a combination of Yakattack Gear Track, and RAM mounts in order to secure the iPad mini. This would provide me with a system which was easy to adjust, and quick to fit and dismantle.
First, a short 4 inch section of gear track…
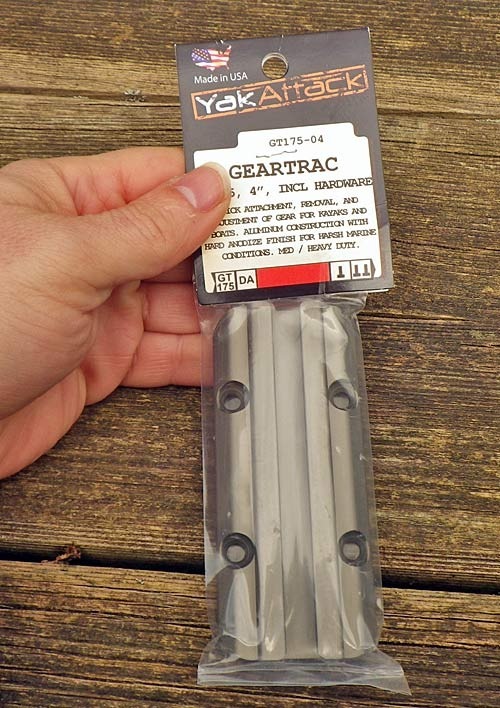
The pack came with the necessary fittings (stainless self tapping screws), so all that was necessary to fit, was to mark out the position of the track on the hull, using a pen…
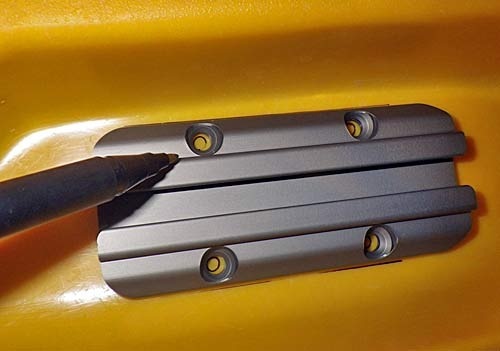
Then drill the holes, with a drill bit smaller then the self tappers…
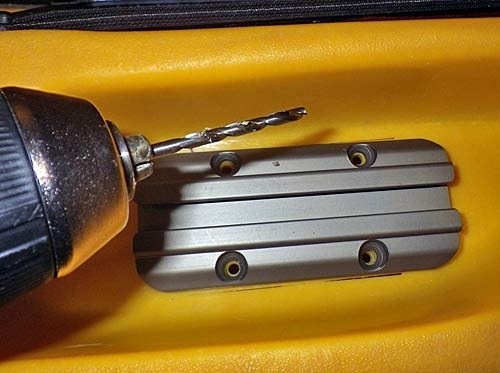
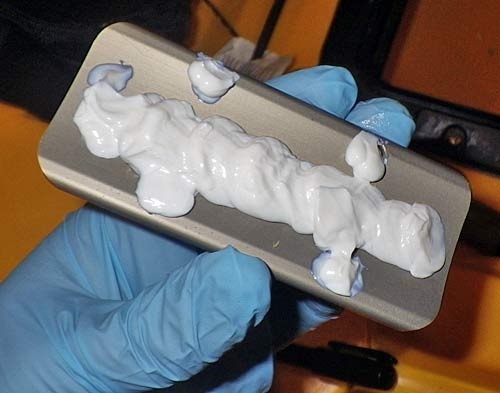
Then coat the rear of the gear track with a liberal amount of silicone sealant, before inserting and tightening the screws…
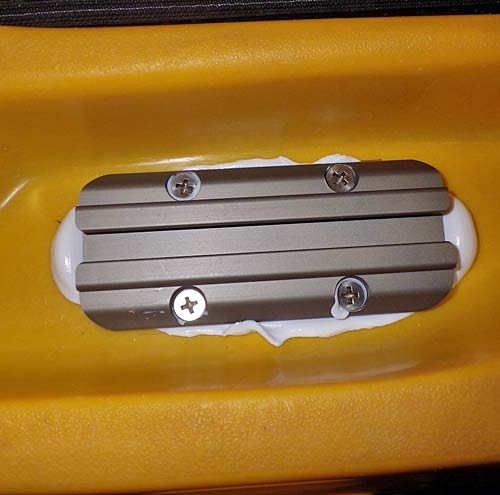
Then remove the excess sealant, and leave to dry.
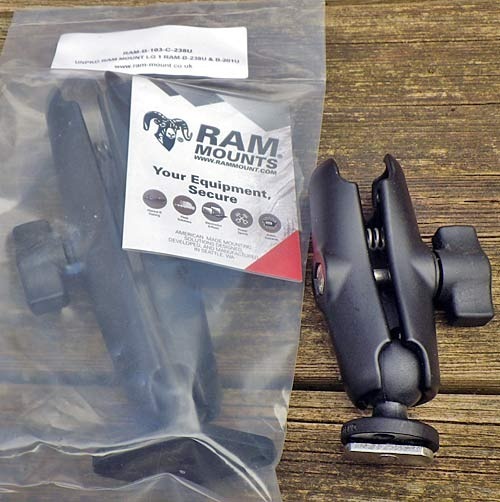
Next, the RAM mounts needed to hold the iPad inside its case. Firstly, the RAM mount with the adaptor to fit to the gear track; I decided to use the longer mount (on the left in the image below), in order that the iPad would stand-up above the surface of the rail, so that it could be adjusted…
Then I purchased a TAB TITE HD RAM adaptor to hold the iPad mini…
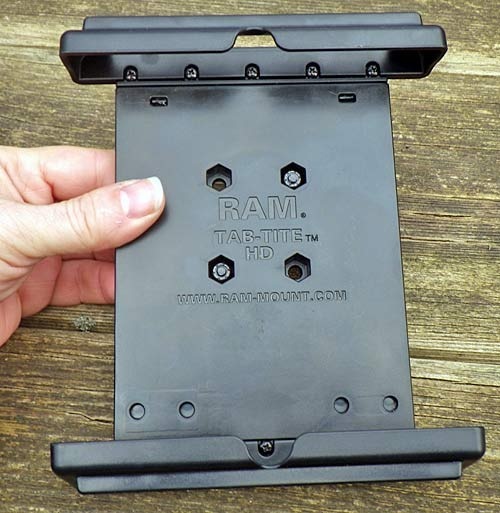
And attached a diamond RAM B ball (1 inch) to the back of the holder…
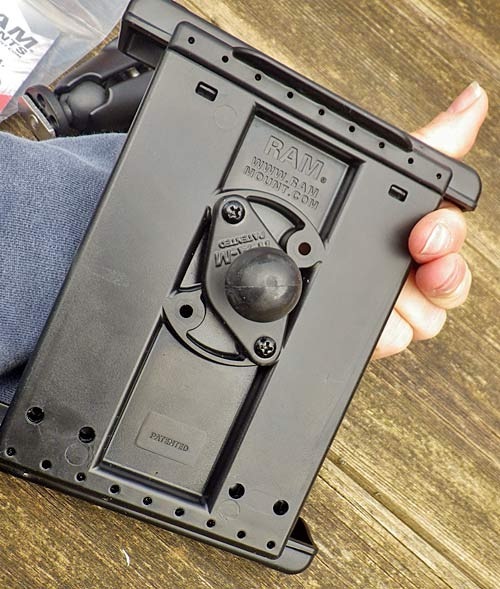
Its really quick and simple to add and remove the iPad mini from the TAB tite… the holder has a spring loaded frame, which extends and collapses under tension. This also provides a secure hold (but I always leash my iPad mini just in case)…
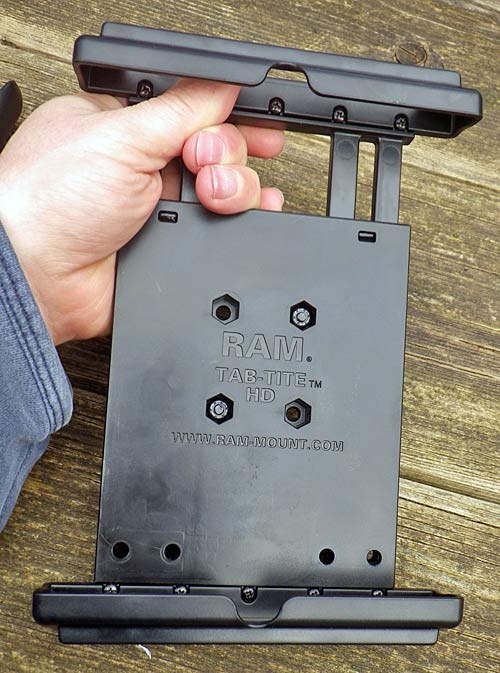
To add and remove the iPad mini from the kayak only takes a few seconds. The installation is quick, simple, robust and secure…