I wanted a way of car topping the kayak and loading it solo which was :
1. Quick – rapid fit/release
2. Easy – easy to fit to the car and easy to load kayak
3. Secure – safe for transportation and lockable
Also, it did not want it to cost the earth. I have been looking at all of the posts covering the subject and visited loads of car part shops as well.
So firstly, the choice of car topping method – basically a choice of two methods – roof bars or roof pads. I had some pads custom made to fit my car which were excellent (thanks Pete if you are reading). They were very quick to fit/take off the car and also had the advantage of being able to carry the kayaks the right way up (which is more difficult with bars). However, the downside (as I found out later) was that most kayak loading systems relied on the use of existing roof bars. So that decision was made for me – bars it had to be.
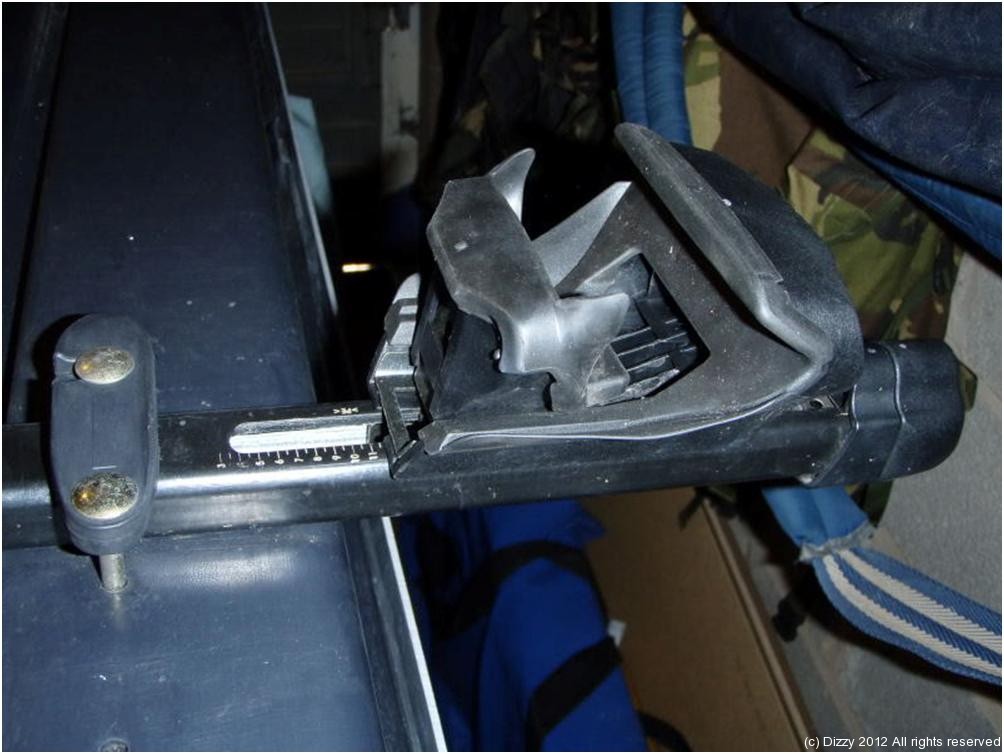
The next decision was the type of bar – my main criteria was that the bars had to be quick to fit/dismantale. I did not want to go for the cheapie systems that I had seen of ebay – so I had the choice of 3 main brands – Thule, Mont Blanc (now part of Paddy Hopkirk I think) and Automaxi (sold mainly through car autopart chains). Neither of them was cheap, but this one one area where I did not want to sacrifice safety. I already had Thule bars which were supposed to be rapid fit – well believe me, they are not. Also, the Thule bars use a connecting system which utilises the internal space in the actual bar (see picture below). This becomes important as you will see later.
The Mount Blanc System 3000 looked good – quite quick to fit, well made, but very difficult to obtain – I spoke to 3 dealers – one said it had been discountinued and the other two could not get hold of it (despite being Mont Blanc dealers !). So onto Automaxi – not as well known as the other two, but seemed to have a good reputation when I spoke to the shop staff. The real advantage for me, was they were really quick to fit – once set up – you literally push a lever to attach them to the car (in my case roof rails). Similarly quick to release and take off, and they were lockable. The roof bar attachments also did not interfere with the inside of the actual roof bar which was also good.
The images below show how the lever is used to open and close the Automaxi connectors — simple and quick.
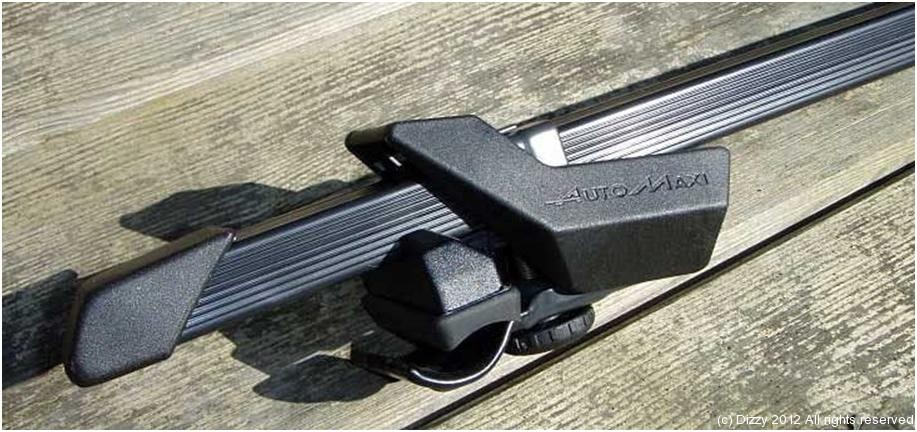
I had already decided that these were the bars I wanted, when the salesman told me they were on special offer – Half price £50 – I love a bargain. 
So, now I had roof bars which were quick and easy to fit, I now needed a loading method which would allow me to solo load/unload my OK Trident.
Again, I had read alot of articles and asked alot of stupid questions. I had seen everything from broom handles to ladders. Again the choice seemed to be between rear rollers and loading arms. Clanforbes was kind enough to send me one of his rollers – but despite his clear instructions, I do not (yet !) have the necessary expertise to fabricate the arms needed (that is going to be my next project  ). Also I wanted to be able to load and unload the kayak solo from both the side of the vehicle (when parallel parked) and from the rear when parked adjacent to other cars – some form of arm should allow me to do this. The Eckla loading arm looked like it might fit the bill. Vlad has one, and he was kind enough to send me more information about it (info. about the specifics is scare apart from one review on another forum). The main stumbling blocks were the price – £80 and that it was not that easy to attach to the rails/roof bar (Vlad if you are reading this, the Automaxi connectors pictured above can be taken off and will fit the Eckla main arm, given the dimensions you sent me. You could use the connectors to attach it to your roof and it would double up as a roof bar).
Well, the Eckla idea was good, and it did not look that complicated. Why couldn’t I make something similar which fitted inside my existing roof bar ? So I set about measuring the internal and external dimensions of the roof bars (I believe most of them are standard 3×2 cms ). The internal size was 27.5mmx17.0mm. So I needed a strong piece of box section which would fit closely inside. Looking on the web, you can get 25mmx15mm – but I wanted to avoid the hassle of the web, so my dad (retired – well he needs a project !) went to a local engineering company and explained to them what I needed (a 2.5cmx1.5 mild steel rectangular section 1 or 2mm thick and 110cms long – just less than the roof bar length). I also wanted a right angle on the end 20 cms long. They did the whole thing for me for £12 – bargain 

Another advantage of having a dad who is a senior citizen is that you find things like this lying around (bet he is wondering where that is – he can’t chew ought ‘ont gums  )
)
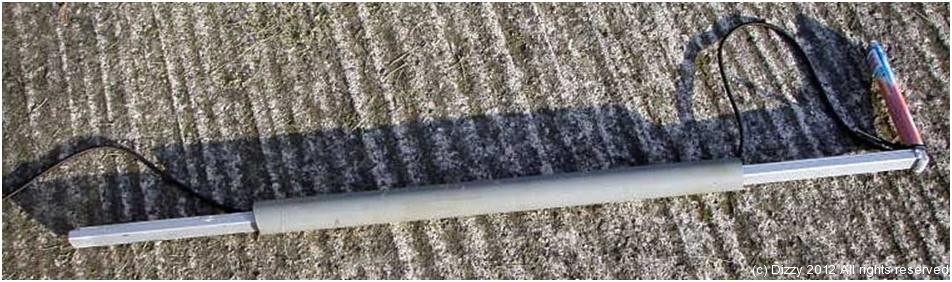
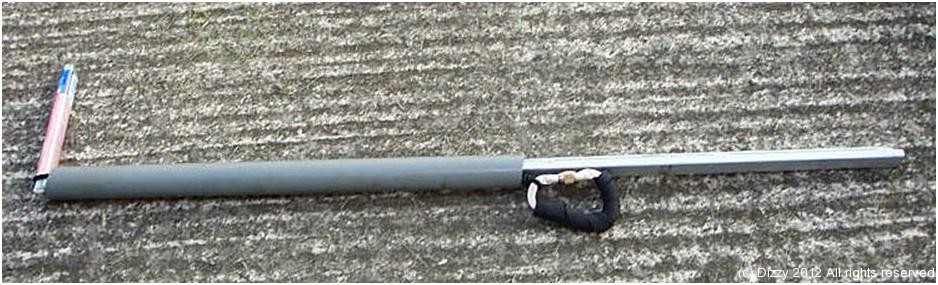
So far, so good. But now I needed a way of securing the bar (to stop it falling out of the roof bar when loading/unloading the yak). And something to stop scratching the bottom of the Trident when loading it. Thought of drilling the bars and using bolts, but then the old man came up with a blinder – I love simple solutions. A length of downpipe (or Bog Pipe Special !) and a length of bungee. Tie the end of the bungee to the end bar and thread it through the plastic pipe.
Important : To determine the length of pipe you need, thread the loading bar inside the roofbar and get someone to hold it whilst you load on the kayak – you want the shortest possible arm length outside the roofbar and the maximum possible inside (to make it as strong as possible) – this has to be balanced against the size of your kayak – if the bar does not stick out enough – then you will not be able to load on the kayak.
Then push the plastic pipe over the metal loading bar.
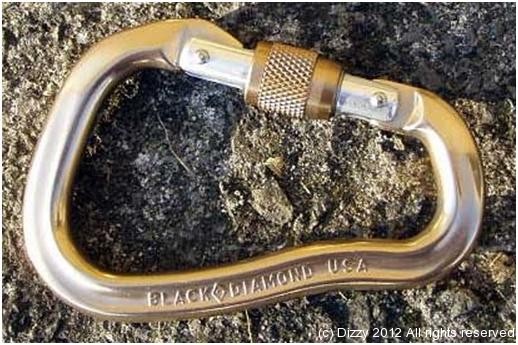
Then get a large crab (must be large enough to fit around the roof rail and large enough to stop it going back through the plastic pipe)
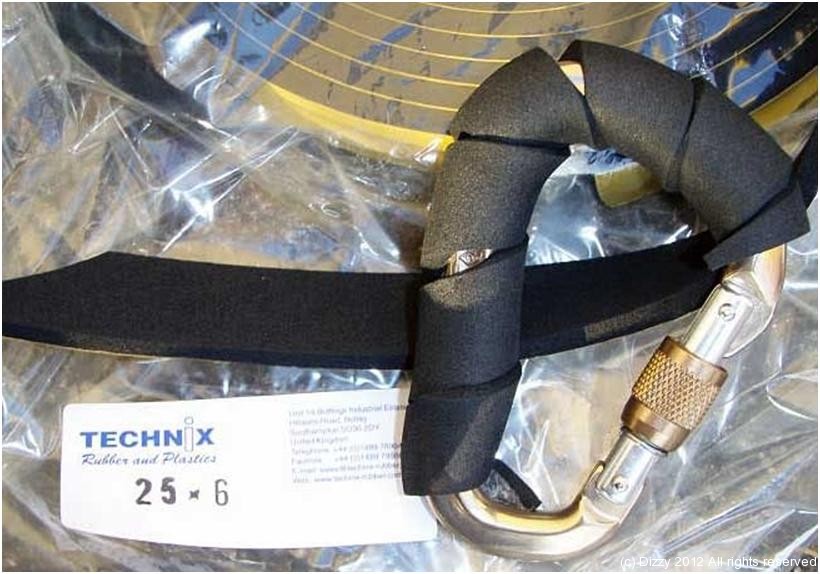
I covered mine in some adhesive neoprene strip (bought at the boat show- £5 for 6m) to stop it scratching the car.
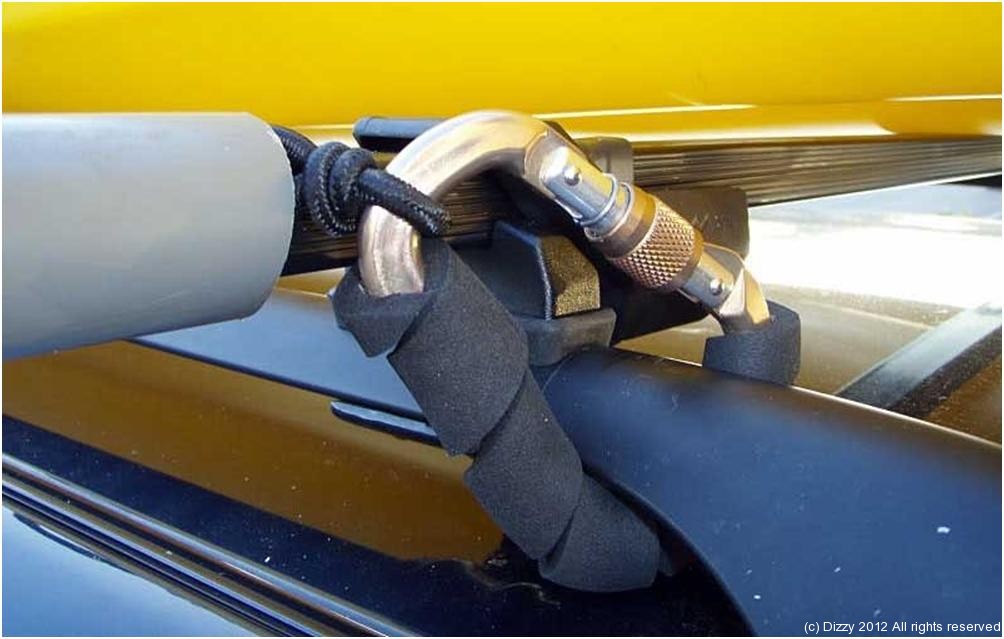
Thread the loading bar back inside the roofbar and push it in until the platic pipe is tight against the roofbar connector and it cannot move any further. Then pull the free end of the bungee tight and tie it to the crab. Attach the crab to the roof rail and job done.
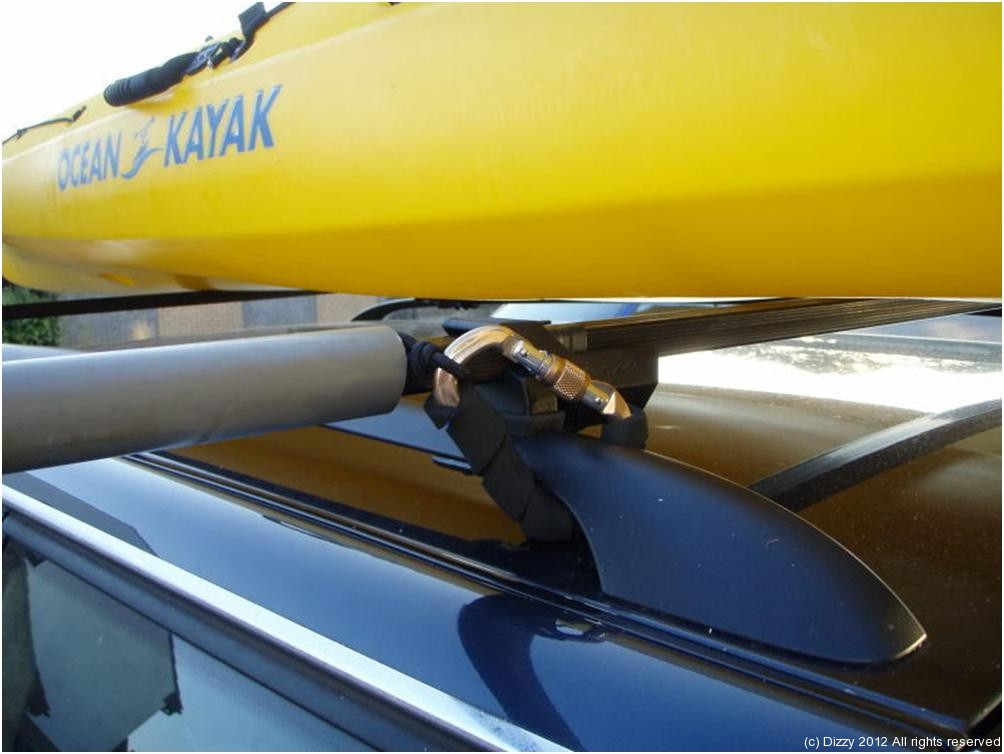
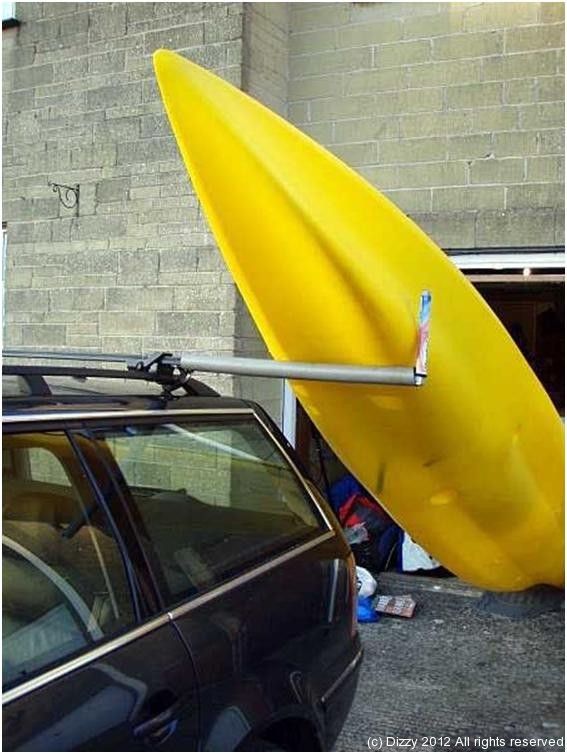
Because the loading bar fits inside the rapid fit roofbar, the whole thing is simple and quick to fit (becuase the loading bar is so quick to insert and remove from the roofbar, I prefer to only install it when loading/unloading the yak – then just put it in the boot). This is what the finished loading bar should look like.
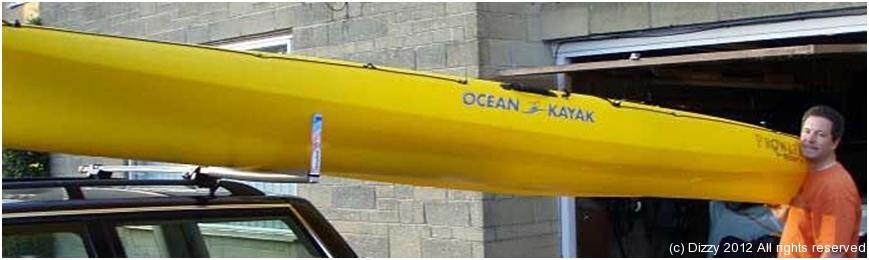
I tried loading front and back, both sides – easy. But after a few trials, I think that the best way is to insert the laoding bar into the rear roofbar. This means that it can be used to load from the side or behind – so covers both loading/parking scenarios. I have also experimented with positioning of the roofbars themselves – the rear one is quite near the back of the car which makes things easier, but be careful not to space the bars too far apart.
Some pictures of loading the (heavy) Trident.